Nat Friedman
Welcome to Part 4 of my network licensing series, building an Autodesk Network Deployment. This is continued off of Part 3, last week.
So what is a network deployment?
A network deployment is the installation copied to a shared location where it can be pulled to your clients from one location. A network deployment can be a real timesaver when installing to several machines.
So how do we create this network deployment I speak of?
In order to create a deployment, we'll need to create a shared folder on a the machine that's going to host the deployment.
Before we get started, create a folder on the machine hosting the deployment. In my example, I've named it Deployment. If you're not sure how to share a folder, here's a link with the steps to share a folder HERE.
 | ||
| My deployment folder created |
1) Now pop in the disk for the Autodesk product you want to create your deployment for. In this case, I'm using Autodesk Inventor, but the steps are similar for most Autodesk products. Run the setup to begin the installation process. Choose Create Deployments when the first screen comes up.
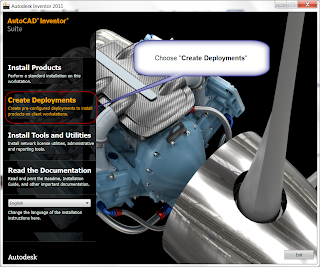 |
| Choose "Create Deployments" |
2) The next screen is the Installation Checklist. It's worth glancing through. In particular, make sure that you turn off the User Account Control (UAC) if you're using Windows Vista or Windows 7. If you're not sure how, there's a KETIV Tech Tip for that HERE.
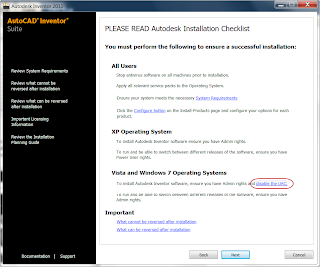 |
| The Installation Checklist |
You'll also have an opportunity to create a deployment for a 32 bit client, or a 64 bit client. Choose the one you want. If you're working in an environment with both 32 and 64 bit clients, you'll have to create two deployments.
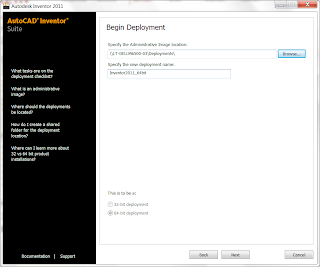 |
| The Deployment Name and Location |
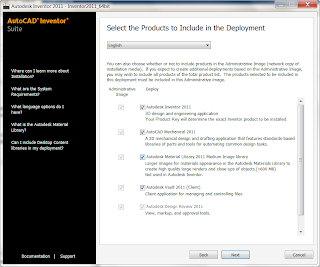 |
| Choose what to install |
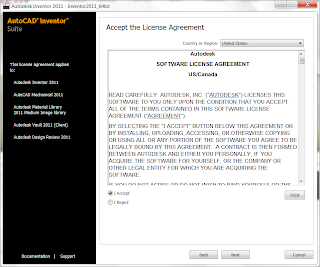 |
| The EULA, accept it and carry on. |
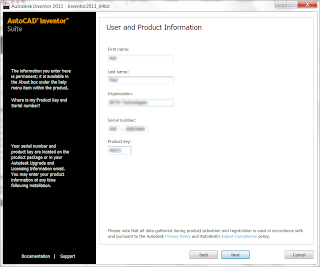 |
| The Product Info (I have to blur out my info!) |
7) Now a confirmation of which product we're deploying. Double check to make sure the selections are right before moving forward!
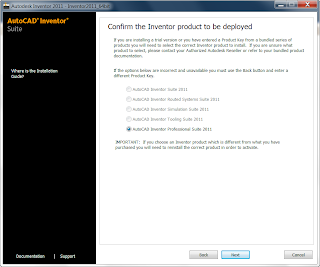 |
| Double check the product is the one you want |
A silent deployment means there will be no dialog boxes, just progress bars. The deployment will run with the settings created during the deployment.
A non-silent deployment will still use the settings created in the deployment, but gives us the opportunity to change the settings if we want.
Personally I prefer non-silent deployments. I like having the ability to change the settings, and error messages tend to be more verbose in a non-silent deployment. But the choice is yours!
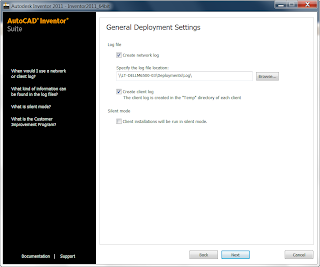 |
| The deployment settings |
9) Next comes the point where I see many make a HUGE mistake. When you see this screen, click the configure button! Trust me you won't regret it.
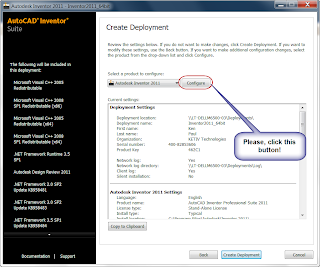 |
| Check configure! |
10) The first screen to come up will let you choose whether we're creating a deployment for a standalone (Node locked) or Network license. In our case, we're creating a network license.
The default is standalone, so make sure you check this for all products in this deployment. If you install with the wrong license type, you'll have to modify the deployment, and then uninstall and reinstall any installations with the wrong license type!
Trust me. You don't want to be several deployments deep when you find out you've made a mistake!
This screen also gives you the option to choose whether or not your installing a single license server, distributed license server, or redundant license servers. Right now, I'll just choose single. I'll describe distributed and redundant licensing schemes in future posts.
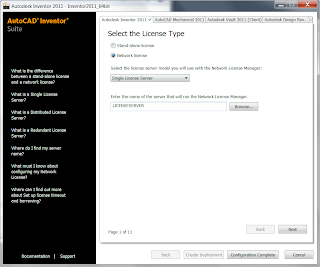 |
| License Type, and Server Name |
11) Click next to change other options for your installation. These will be things like installation directory, default standards, as well as options and preferences. These will vary for different products, and there's a lot of them, so I won't go into all of them here. But I will make a recommendation.
Double check all your settings. The deployment is the template for all your installations. It's worth making sure you have all the settings you want.
 |
| A sample of one of the settings screen |
12) You'll also have the chance to include service packs in your deployments, so when you install to your clients, any service packs can be installed with the deployment.
Personally, I like to include the service pack in the deployment.
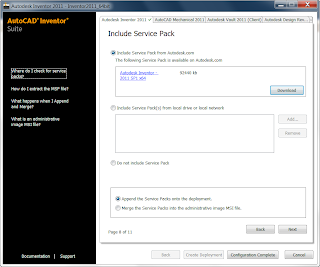 |
| Adding a service pack to the deployment |
13) Click on complete deployment, and we'll return to the screen from step 9. Now we can view our deployment settings one more time, and click "Create Deployment". At long last, the deployment begins building itself.
This can take a while. Monitor the deployments switching disks when the deployment asks you to.
This can take a while. Monitor the deployments switching disks when the deployment asks you to.
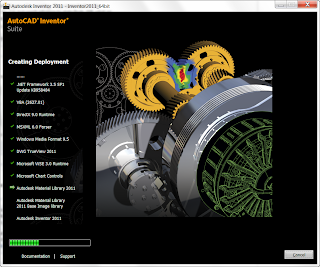 |
| Deployment in progress |
14) The deployment will finish after a while, and then you'll be ready to pull the deployment to your clients. But that's a subject for next week!
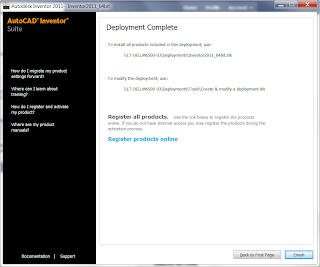 |
| That's it, we're done.... for now! |

No comments:
Post a Comment